Connecting Cloud Accounts
CIS connects to your cloud accounts to discover and manage compute instances. You add accounts through Settings > Cloud Accounts — just pick a provider, paste your credentials, and sync.
CIS supports three providers:
- AWS — EC2 instances
- Azure — Virtual Machines (with full deallocation to stop billing)
- GCP — Compute Engine instances
AWS
Creating access in AWS
- Open the IAM Console and go to Users > Create user
- Enter a name like
cis-schedulerand click Next - Select Attach policies directly, then click Create policy
- Switch to the JSON tab and paste the policy below
- Name the policy (e.g.,
CIS-EC2-Scheduler) and create it - Back on the user creation page, search for and attach your new policy
- Complete the user creation, then go to Security credentials > Create access key
- Select Third-party service, acknowledge, and create the key
- Copy the Access key ID and Secret access key — you'll need both in CIS
Minimum IAM policy
{
  "Version": "2012-10-17",
  "Statement": [
    {
      "Effect": "Allow",
      "Action": [
        "sts:GetCallerIdentity",
        "ec2:DescribeRegions",
        "ec2:DescribeInstances",
        "ec2:StartInstances",
        "ec2:StopInstances"
      ],
      "Resource": "*"
    }
  ]
}
To restrict further, you can scope ec2:StartInstances and ec2:StopInstances to specific resource ARNs or tag-based conditions.
What to enter in CIS
| Field | Description |
|---|---|
| Access Key ID | The access key from the IAM user |
| Secret Access Key | The secret key (stored encrypted) |
Azure
Creating access in Azure
- Open the Azure Portal and go to Microsoft Entra ID > App registrations > New registration
- Enter a name like
cis-scheduler, leave the defaults, and click Register - On the app's overview page, copy the Application (client) ID and Directory (tenant) ID
- Go to Certificates & secrets > New client secret, add a description, and create it
- Copy the secret Value immediately (it won't be shown again)
- Now go to Subscriptions, select the subscription you want CIS to manage
- Go to Access control (IAM) > Add role assignment
- Search for and select the Virtual Machine Contributor role, click Next
- Select User, group, or service principal, click Select members, find your app registration, and assign
If you prefer a more restrictive custom role, the minimum permissions are:
Microsoft.Compute/virtualMachines/readMicrosoft.Compute/virtualMachines/instanceView/readMicrosoft.Compute/virtualMachines/start/actionMicrosoft.Compute/virtualMachines/deallocate/action
What to enter in CIS
| Field | Description |
|---|---|
| Subscription ID | The Azure subscription to manage |
| Tenant ID | Your Microsoft Entra directory ID |
| Client ID | The application (client) ID from the app registration |
| Client Secret | The client secret value (stored encrypted) |
CIS uses deallocate (not power-off) when stopping Azure VMs. This fully releases compute resources and stops billing, which is what you want for cost savings.
GCP
Creating access in GCP
- Open the GCP Console and go to IAM & Admin > Service Accounts
- Click Create Service Account
- Enter a name like
cis-schedulerand click Create and continue - Grant the role Compute Instance Admin (v1) (
roles/compute.instanceAdmin.v1) and click Continue - Click Done to finish creating the service account
- Click on the new service account, go to the Keys tab
- Click Add Key > Create new key, select JSON, and click Create
- Save the downloaded JSON file — you'll paste its contents into CIS
If you prefer a custom role with fewer permissions, the minimum is:
compute.instances.listcompute.instances.getcompute.instances.startcompute.instances.stop
What to enter in CIS
| Field | Description |
|---|---|
| Project ID | The GCP project ID |
| Service Account JSON | The full contents of the JSON key file (stored encrypted) |
GCP organizes instances by zone (e.g., us-east1-b), not by region. CIS discovers instances across all zones in the project automatically.
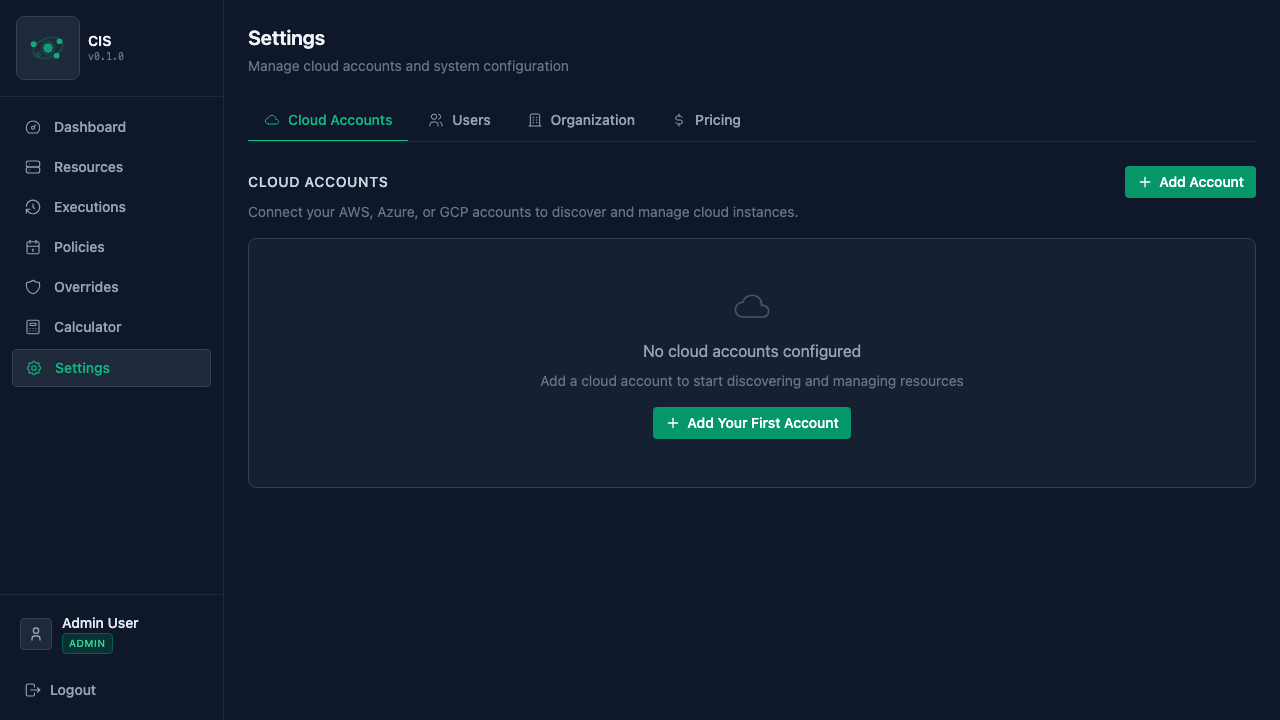
Adding an account in CIS
- Go to Settings > Cloud Accounts
- Click Add Account
- Choose the provider (AWS, Azure, or GCP)
- Enter a descriptive name and paste your credentials
- Optionally select specific regions — by default, CIS scans all available regions
- Click Save
CIS validates your credentials on save. If the connection fails, double-check your credentials and permissions.
Syncing resources
After adding an account, click Sync to discover your cloud instances. CIS will scan the selected regions and import all compute instances it finds. Discovered resources appear on the Resources page, where you can see their current state, provider, region, and instance type.
You can re-sync at any time to pick up new instances or reflect changes made directly in the cloud console.