Getting Started
Prerequisites
- Docker or Podman
- Docker Compose (or Podman Compose)
That's it for running CIS. For local development without containers, see Local development below.
Quick start with pre-built images
The fastest way to get CIS running. Pre-built images are available on Docker Hub — no need to clone the repo or build anything.
Images
| Image | Description |
|---|---|
estemendoza/cis:api-latest | Backend API (FastAPI + Uvicorn) |
estemendoza/cis:frontend-latest | Frontend (SvelteKit + nginx) |
Versioned tags are also available: estemendoza/cis:api-1.0.0, estemendoza/cis:frontend-1.0.0.
Deploy
- Download the deployment compose file and environment template:
curl -O https://raw.githubusercontent.com/estemendoza/cis/main/docker-compose.deploy.yml
curl -O https://raw.githubusercontent.com/estemendoza/cis/main/.env.production.example
cp .env.production.example .env
- Edit
.envwith your production values. Generate secure keys:
# Encryption key for cloud credentials (Fernet)
ENCRYPTION_KEY=$(python3 -c "from cryptography.fernet import Fernet; print(Fernet.generate_key().decode())")

# JWT signing key
JWT_SECRET_KEY=$(openssl rand -hex 32)

# Database password
POSTGRES_PASSWORD=$(openssl rand -hex 16)
- Start services:
podman-compose -f docker-compose.deploy.yml up -d
- Run database migrations:
podman-compose -f docker-compose.deploy.yml run --rm app alembic upgrade head
- Open the application:
- Frontend: http://localhost:3000
- API: http://localhost:8000
Architecture
The deployment runs three containers:
- frontend (nginx) — serves the pre-built SvelteKit app and proxies
/apirequests to the backend - app (uvicorn) — FastAPI backend, runs the scheduler in-process
- db (postgres:15-alpine) — PostgreSQL database with a persistent volume
Updating
# Pull new images
podman-compose -f docker-compose.deploy.yml pull

# Run migrations with the new image
podman-compose -f docker-compose.deploy.yml run --rm app alembic upgrade head

# Restart services
podman-compose -f docker-compose.deploy.yml up -d

# Clean up old images
podman image prune -f
Bootstrap
On first launch, the app shows a bootstrap wizard to create the initial organization and admin user.
The bootstrap sequence:
- Create organization — give your org a name
- Create admin user — set email, name, and password
- Authenticate — the app logs you in automatically
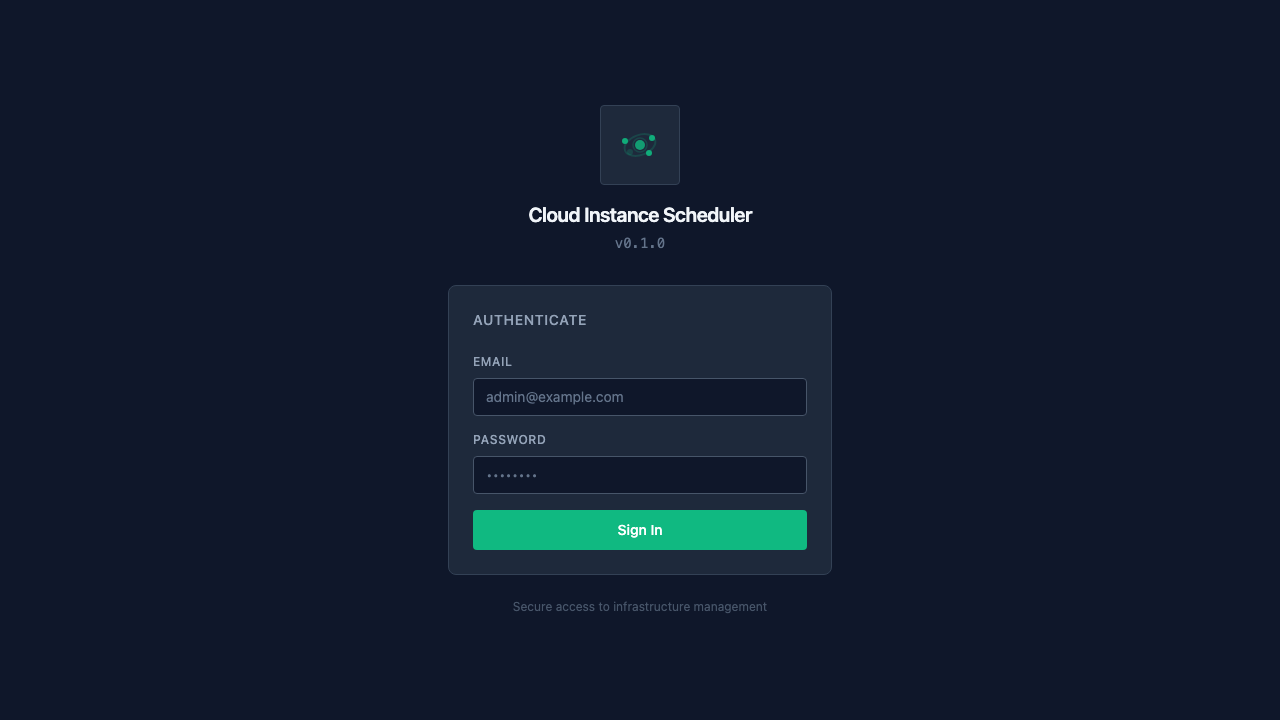
After bootstrap, the login screen is shown for returning users:
Onboarding
Once authenticated, the dashboard shows a guided onboarding flow with four steps to get you up and running:
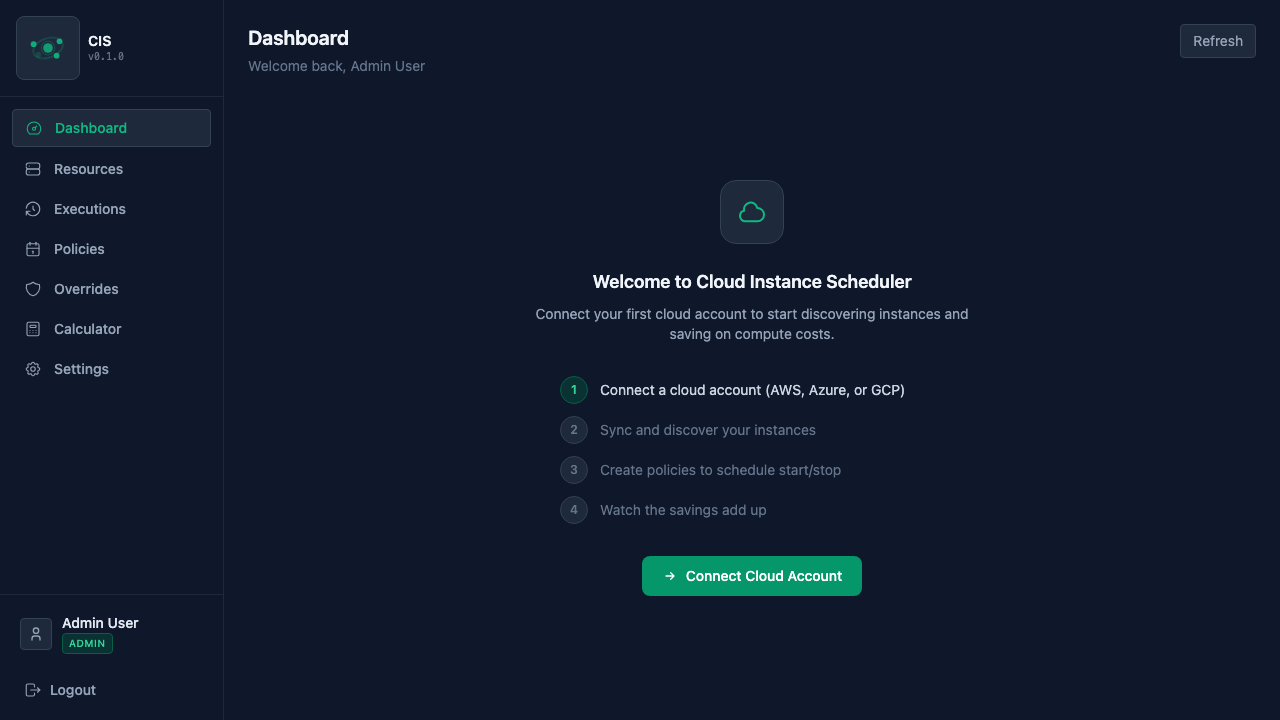
The steps are:
- Connect a cloud account (AWS, Azure, or GCP)
- Sync and discover your instances
- Create policies to schedule start/stop
- Watch the savings add up
Click the Connect Cloud Account button to get started.
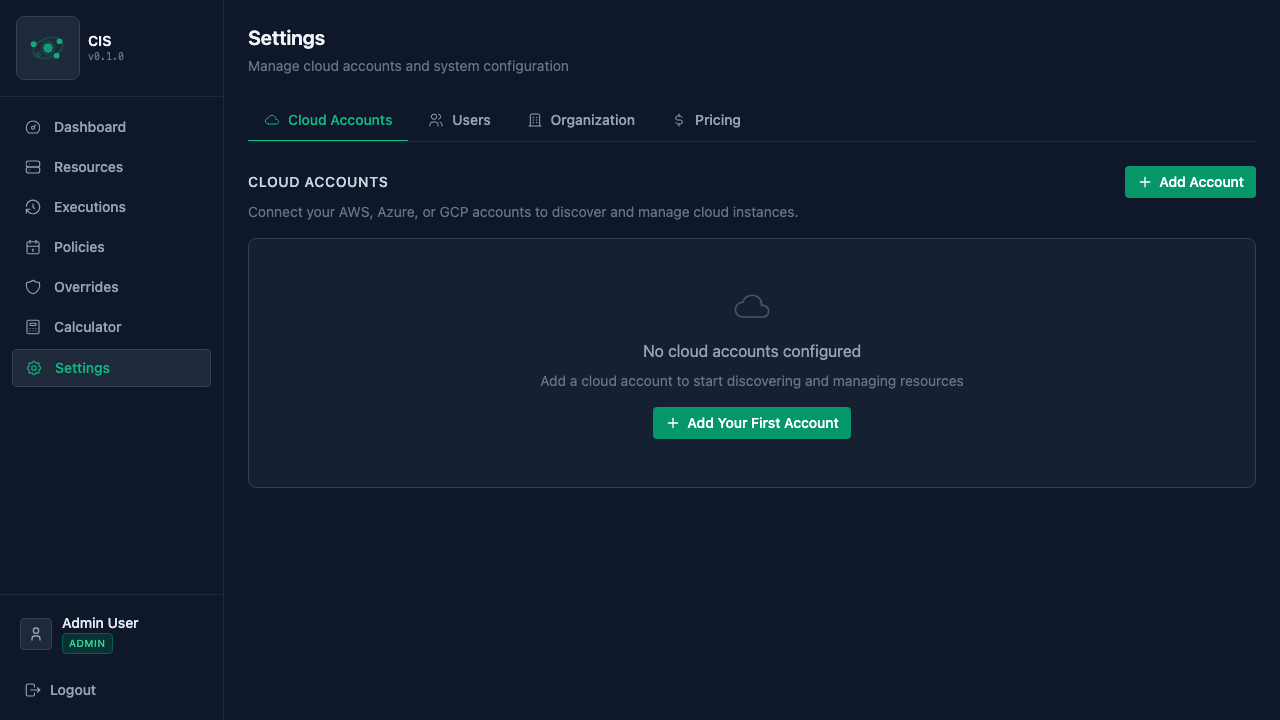
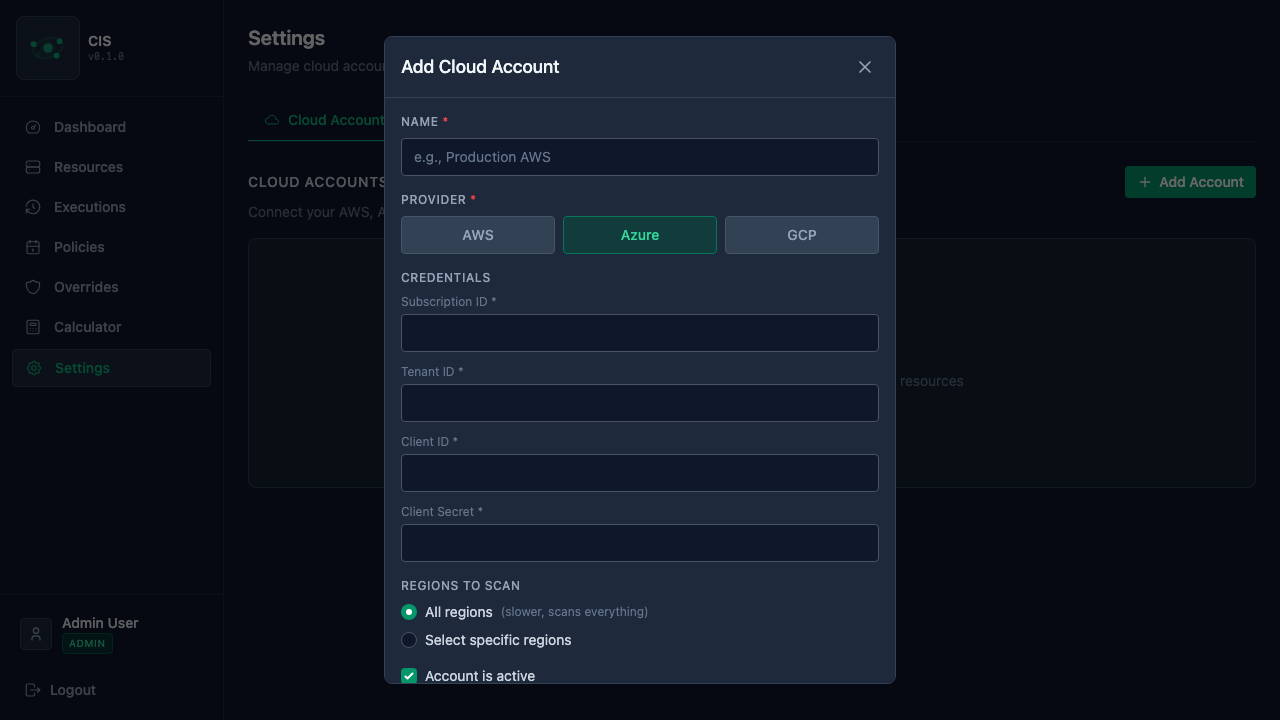
Step 1: Add a cloud account
Navigate to Settings > Cloud Accounts and click + Add Account. If you have no accounts yet, the page shows an empty state prompting you to add your first one:
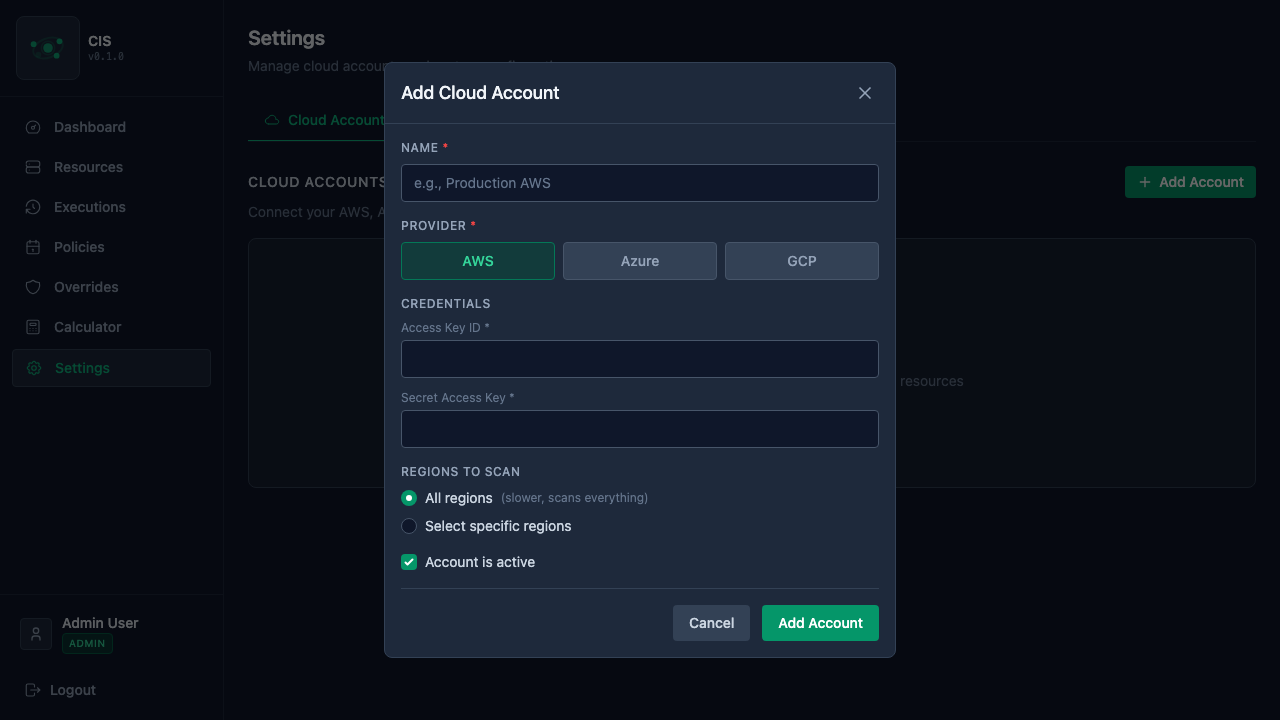
Select your cloud provider and enter the required credentials. Each provider requires different fields:
AWS
Provide your IAM Access Key ID and Secret Access Key. You can scope access with a read-only IAM policy or allow start/stop actions. See AWS setup instructions for how to create an IAM user and policy.
Azure
Provide your Subscription ID, Tenant ID, Client ID (App ID), and Client Secret. Create a service principal in Azure AD with the Virtual Machine Contributor role. See Azure setup instructions for the full walkthrough.
GCP
Provide your Project ID and a Service Account JSON key. The service account needs compute.instances.list, compute.instances.start, and compute.instances.stop permissions. See GCP setup instructions for how to create a service account and download the key.
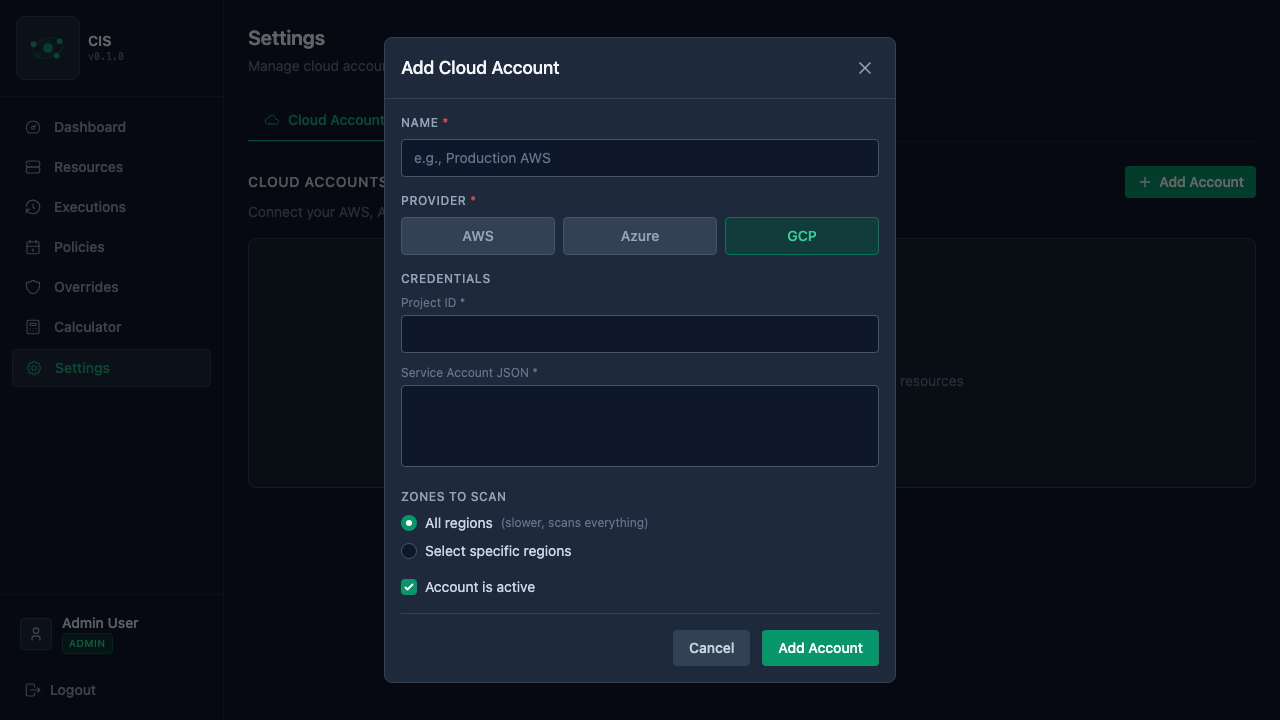
For all providers, you can choose to scan all regions or select specific regions to limit discovery scope. You can also toggle whether the account is active.
Click Add Account to save. The app will validate your credentials and begin discovering instances. For more details on credential requirements and permissions, see the Connecting Cloud Accounts page.
Step 2: Discover resources
After adding a cloud account, CIS automatically syncs and discovers your compute instances. You can view them on the Resources page:
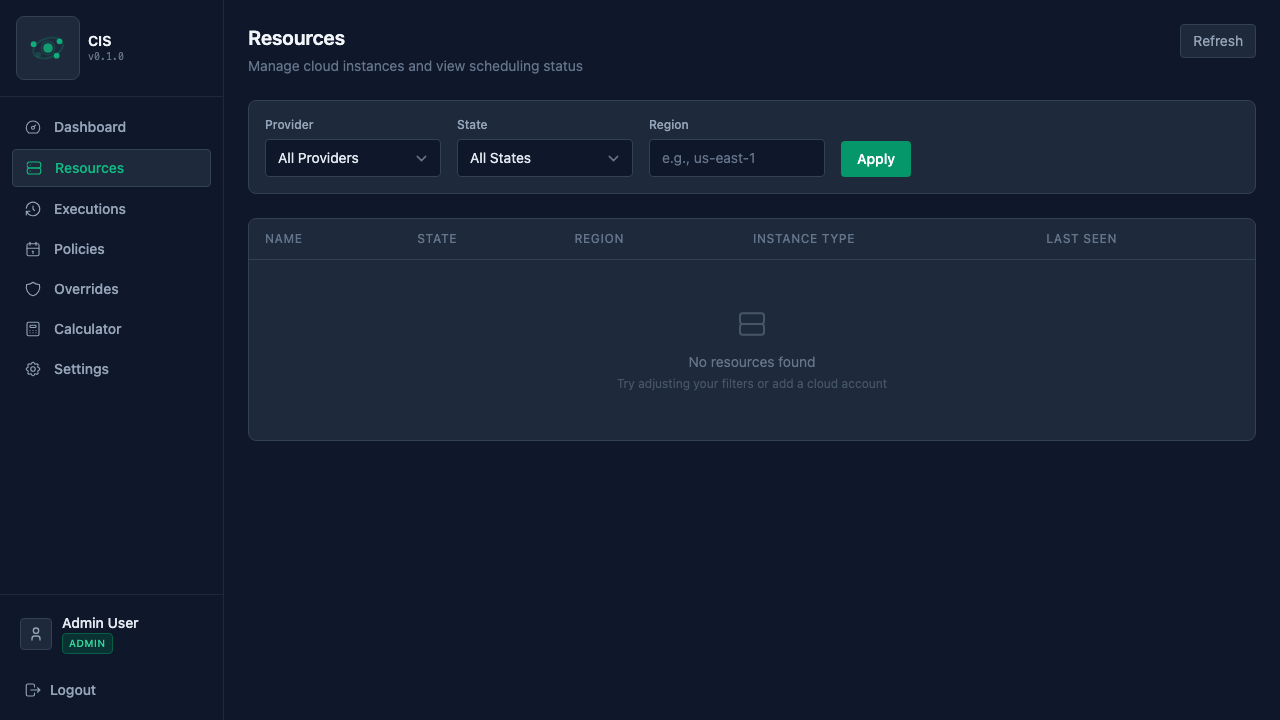
Use the filters at the top to narrow by provider, state, or region. Each resource shows its name, current state (running/stopped), region, instance type, and when it was last seen.
Step 3: Create a policy
Navigate to Policies and click Create Policy to define scheduling rules for your instances:
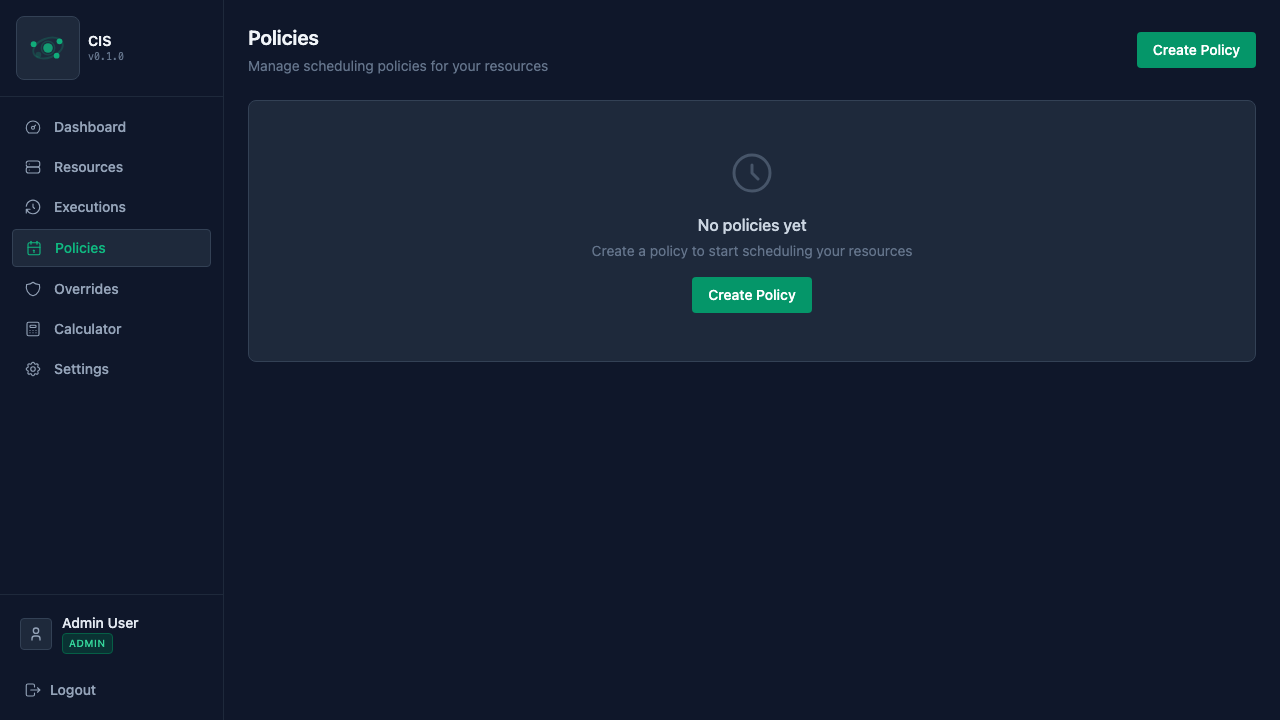
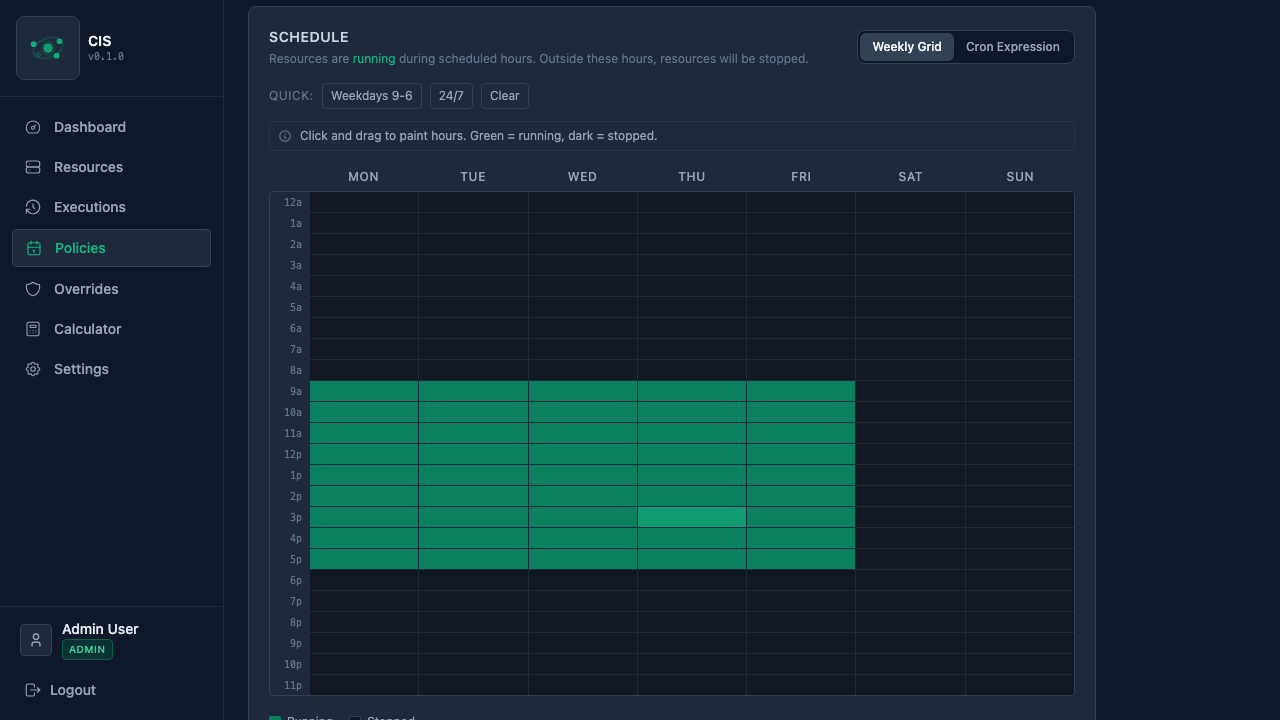
Policies define operating windows for your instances. You can use the weekly grid to visually paint hours, or switch to cron expressions for more flexible schedules.
Weekly grid — click and drag to select running hours per day:
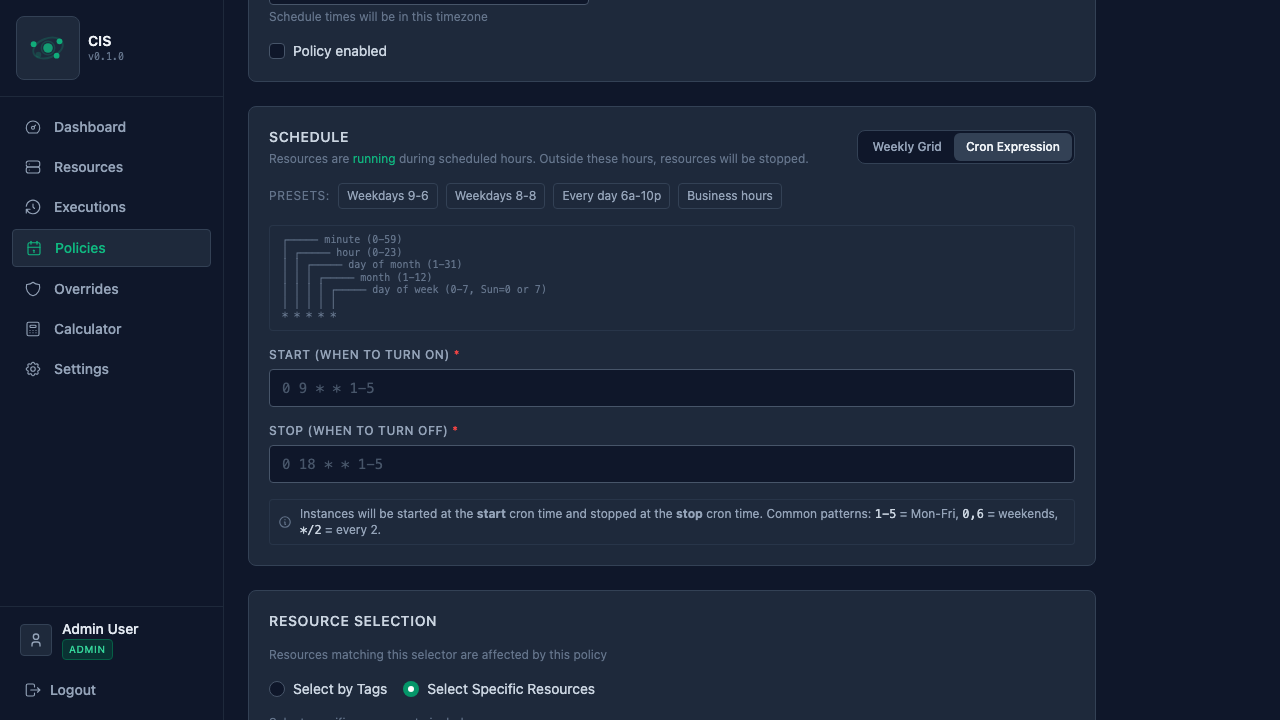
Cron expressions — define start and stop times with standard cron syntax:
Step 4: Monitor savings
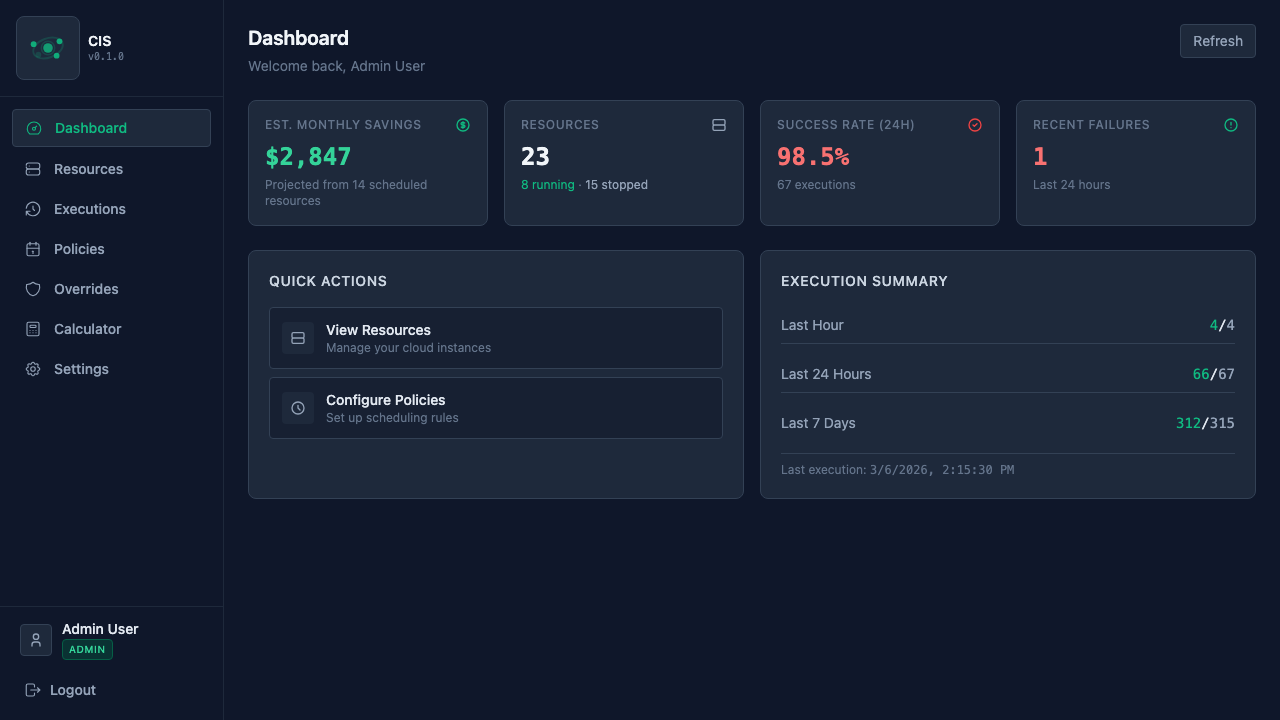
Once policies are active and the scheduler is running, the Dashboard will show KPI cards with estimated monthly savings, resource counts, execution success rates, and recent failures. You can also use the Calculator page for detailed per-resource cost projections.
Local development with Podman Compose
The dev compose stack runs the full application (DB + backend + frontend) with hot reload enabled on both the backend and frontend.
Setup
- Clone the repo and create your environment file:
git clone https://github.com/estemendoza/cis.git
cd cis
cp .env.example .env
- Edit
.envwith your local values. At minimum set:
ENCRYPTION_KEY=$(python3 -c "from cryptography.fernet import Fernet; print(Fernet.generate_key().decode())")
JWT_SECRET_KEY=$(openssl rand -hex 32)
- Start the stack:
podman-compose up -d
- Apply database migrations:
podman-compose exec app alembic upgrade head
- Open the application:
- Frontend: http://localhost:3000
- API: http://localhost:8000
- OpenAPI docs: http://localhost:8000/api/v1/docs
Hot reload
Both services watch for file changes automatically:
- Backend — the
app/directory is mounted into the container. Uvicorn runs with--reload, so any Python file change restarts the server instantly. File system polling is enabled viaWATCHFILES_FORCE_POLLING=truefor compatibility with Podman's virtual filesystem. - Frontend —
frontend/src/andfrontend/static/are mounted. Vite's HMR updates the browser without a full reload. Polling is enabled viaCHOKIDAR_USEPOLLING=true.
Useful commands
# View logs
podman-compose logs -f app
podman-compose logs -f frontend

# Restart a single service after a dependency change
podman-compose restart app

# Rebuild after changing pyproject.toml or package.json
podman-compose up --build -d

# Stop the stack
podman-compose down
Local development without Docker
For contributors or developers who want to run outside containers. Requires Python 3.11+, Poetry 2.x, Node.js 20+, and PostgreSQL 15+.
Backend
poetry install
poetry run alembic upgrade head
poetry run uvicorn app.main:app --reload --host 0.0.0.0 --port 8000
Frontend
cd frontend
npm ci
npm run dev
Configuration
Key environment variables (see .env.production.example for the full list):
| Variable | Description |
|---|---|
POSTGRES_SERVER | Database host |
POSTGRES_PORT | Database port |
POSTGRES_USER | Database user |
POSTGRES_PASSWORD | Database password |
POSTGRES_DB | Database name |
ENCRYPTION_KEY | Encryption key for cloud credentials |
JWT_SECRET_KEY | Secret for JWT token signing |
PRICING_UPDATE_HOUR_UTC | Hour (UTC) for automatic pricing refresh |
PRICING_UPDATE_MINUTE_UTC | Minute for automatic pricing refresh |
CORS_ALLOW_ALL_ORIGINS | Allow all CORS origins (use with care) |